
Certain hardware features are available only on specific NSG models. If your NSG product looks different from the one depicted below, select the correct model.
Refer to the product data sheet for more information about the physical specifications of this model.
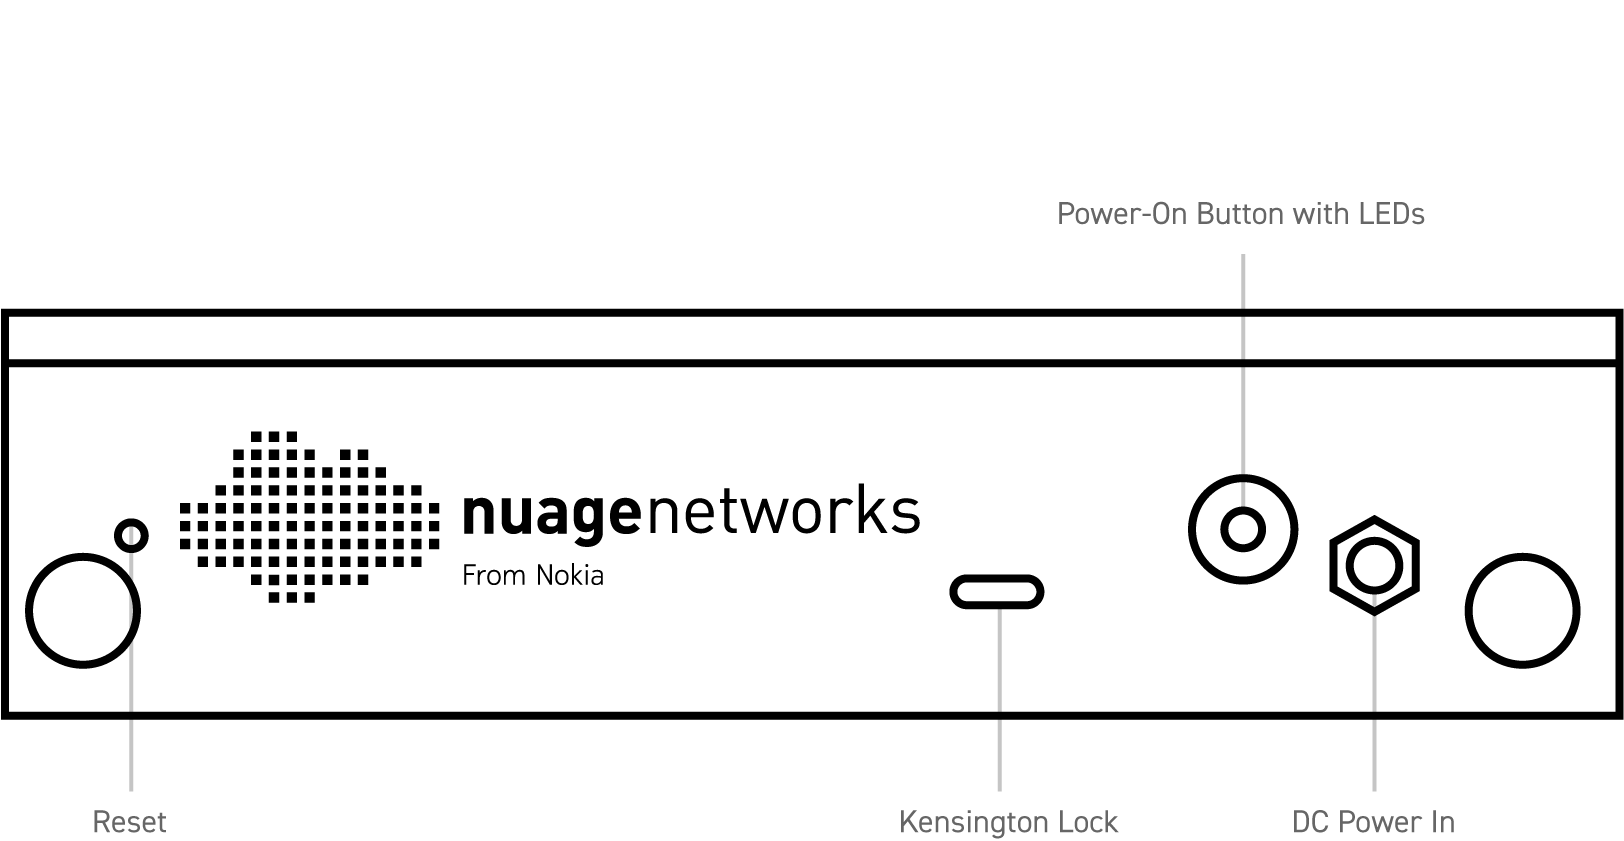

Connect the NSG-E Power Adapter to the unit, and tighten the locking nut.
Then connect the 7850 NSG-E to the AC power supply (110-250V).
Connect Port 1 to the WAN using an Ethernet cable.
For dual-uplinks, use Ports 1 and 2 to connect to the WAN.
Each Ethernet port has a speed and link activity LED.
For auto-bootstrapping mode, insert the USB bootstrap key into any USB port and power on the NSG.
For multi-factor bootstrapping, connect the laptop to Port 3 or 6, power on the NSG, and follow the instructions in the bootstrap email.
Refer to the "Bootstrapping" chapter in the Nuage VNS User Guide for more information about initiating the bootstrapping process.
After bootstrapping, connect devices to any available ports (such as those not used for WAN connections) using Ethernet cables.
The LED indicators on the NSG-E provide status information for various functions. The following is a list of behaviors for each LED indicator.
The Nuage bootstrapping solution allows the NSG to securely connect to VSCs, download their service configuration, and connect end users to their services based on pre-defined policies with minimal user interaction. Once the NSG is successfully bootstrapped, it has access to the full feature set provided by the Nuage VSC and VSD.
Some functionality is available to the NSG prior to bootstrapping. Pre-bootstrapping features allow you to perform troubleshooting tests on an NSG that has failed to bootstrap. These features are included as part of the factory software shipped on the NSG.
Refer to the "Bootstrapping" chapter in the Nuage VNS User Guide for more information about bootstrapping and pre-bootstrapping functionality.